
VR Mapping
Context
The BayesiaLab VR Module was first introduced with BayesiaLab 7 in the fall of 2017 and is available to all BayesiaLab users at no additional cost. It allows you to leverage virtual reality methods to visualize Bayesian networks. The depth of virtual space allows you to expand complex Bayesian networks into three dimensions. This approach facilitates the exploration of large problem domains, which were practically impossible to comprehend in the past. When viewing a network in VR, you can shift your viewpoint relative to the network by moving through it, i.e., walking through the space that contains the network. Alternatively, you can move or turn the network to view it from all angles. All the analysis functions available in 3D Mapping are also accessible in the VR mode.
System Requirements
The BayesiaLab VR Module works exclusively with the Oculus Rift platform. Other VR platforms, such as HTC Vive, Oculus Quest, Oculus Go, and Samsung Gear VR, are not supported.
The Oculus Rift has some very specific operating system and hardware requirements. Please see the Oculus website for further details. Most standard office PC and laptop configurations will not support Oculus. However, many gaming PCs are likely to work with Oculus VR.
The Oculus Rift kit has been offered in different bundles. To use the Oculus Rift with the BayesiaLab VR Module, in addition to the Oculus VR headset, you will need the left and right Touch Controllers. The Oculus remote, which was part of early Oculus bundles, will not be sufficient. We recommend that you set up and test the Oculus Rift hardware and software before proceeding with the installation of the BayesiaLab VR Module.
Please note that Oculus Rift is only compatible with Windows 10. Computers running macOS are not supported.
BayesiaLab VR Module Installation
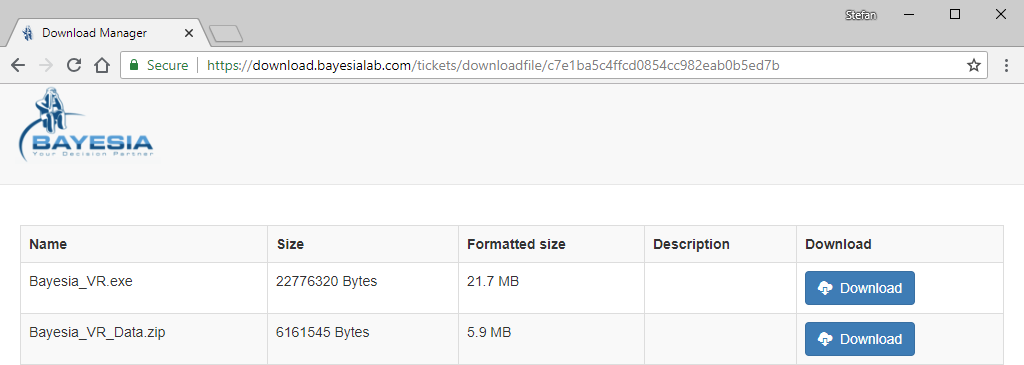
Go to the BayesiaLab server: https://download.bayesialab.com/tickets/downloadfile/6162edb96e4065f4c62c67be60fbbcc4
Download the following two files from the BayesiaLab server and save them to a folder of your choice, e.g., the Downloads directory:
Bayesia_VR.exeBayesia_VR_Data.zip.
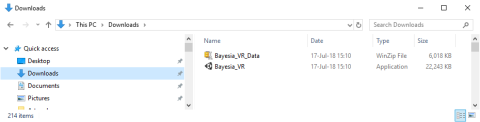
Upon completion of the download, locate the files.
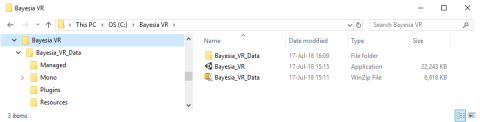
Create a new folder, e.g., Bayesia VR, anywhere on a local drive. Copy Bayesia_VR.exe and Bayesia_VR_Data.zip into that folder. Extract Bayesia_VR_Data.zip into that same folder so that you obtain the following folder structure:
Select Bayesia_VR.exe and create a shortcut.
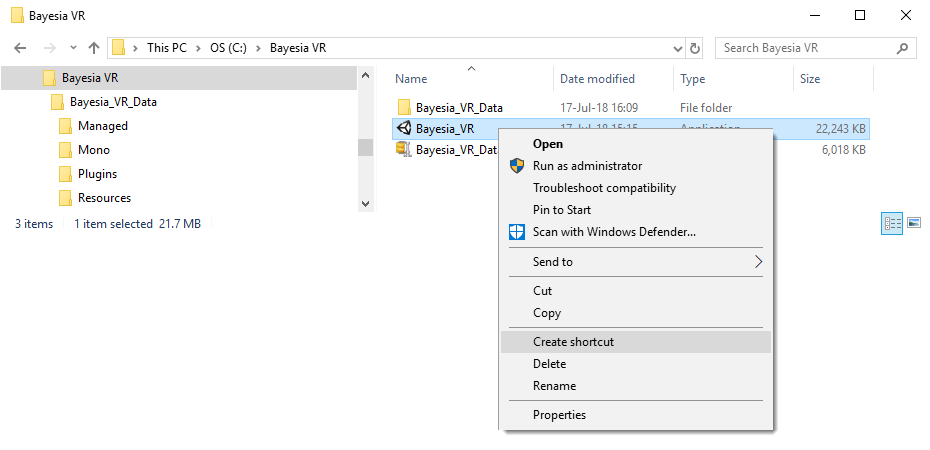
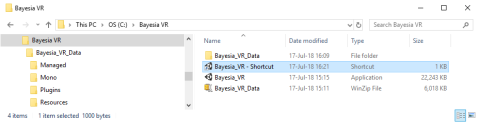
Drag the newly created shortcut to your desktop.
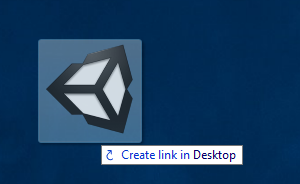
This completes the VR software installation setup.
Creating a VR Model in BayesiaLab
Before we can view a Bayesian network in Virtual Reality, we need to prepare a 3D model in BayesiaLab.
To illustrate the process, we use a network from a recent webinar, Analyzing Capital Flows of Exchange-Traded Funds.
Download the demo network and open the file in BayesiaLab.

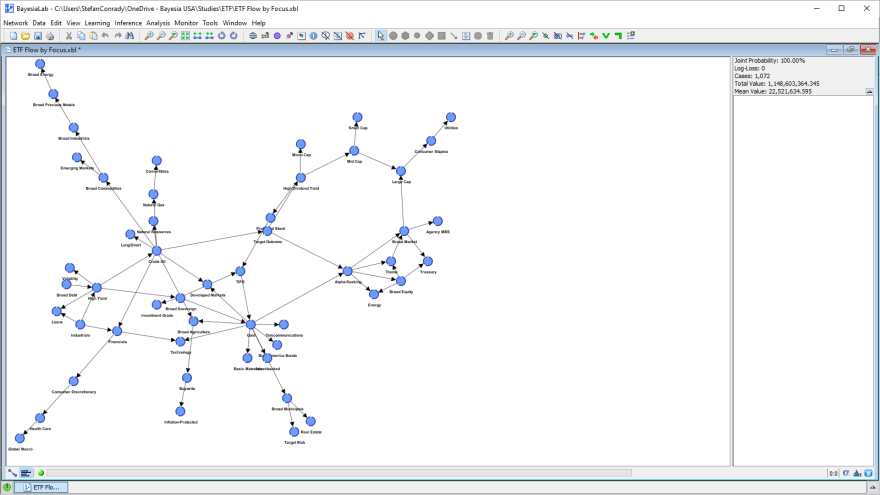
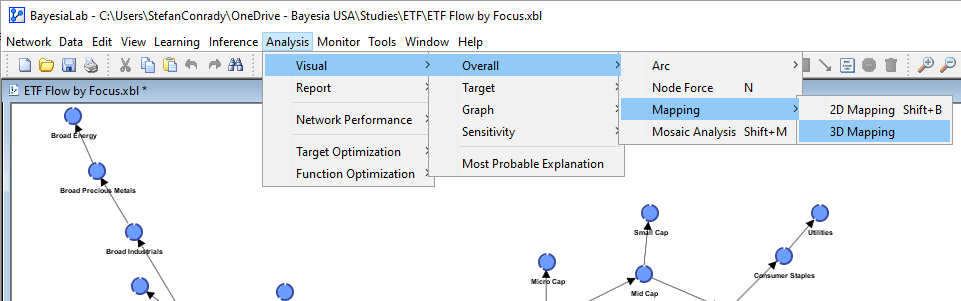
In Validation Mode, select Analysis > Visual > Overall > Mapping > 3D Mapping.
This brings up the 3D Mapping window, which, initially, appears to be identical to the original network in the Graph Panel.
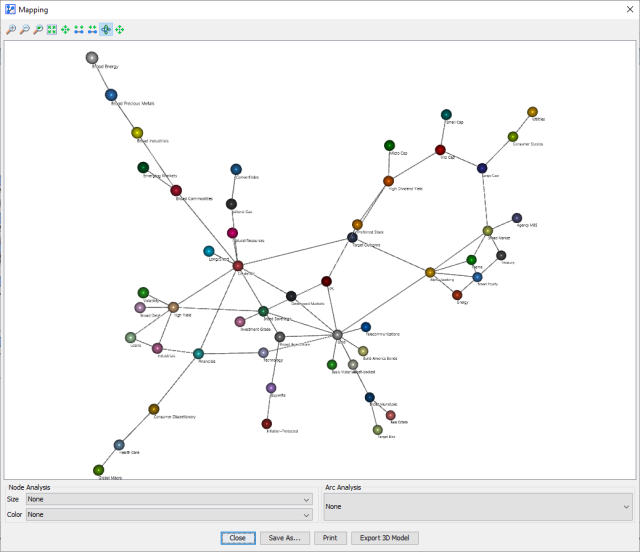
When you click and hold the mouse cursor anywhere inside the window, you can rotate the network in three dimensions. Furthermore, using the scroll wheel, you can zoom in and out. At this point, the network is still “flat.” We are not yet taking advantage of the available three-dimensional space.
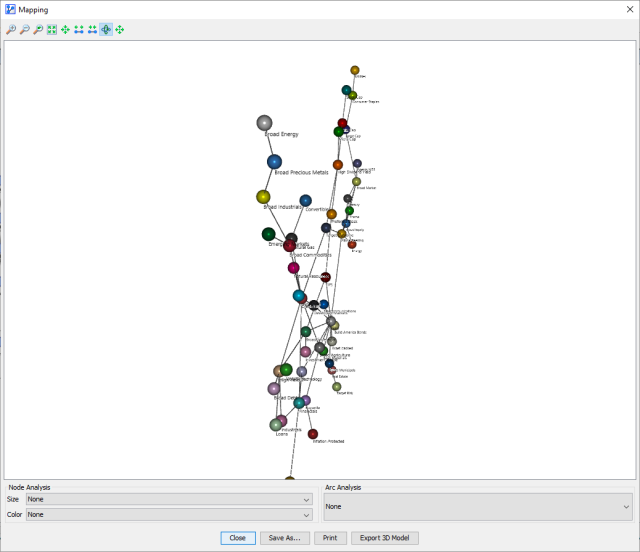
Click P to run the Automatic Layout algorithm, which transforms or unfolds the “flat” network into a three-dimensional structure.
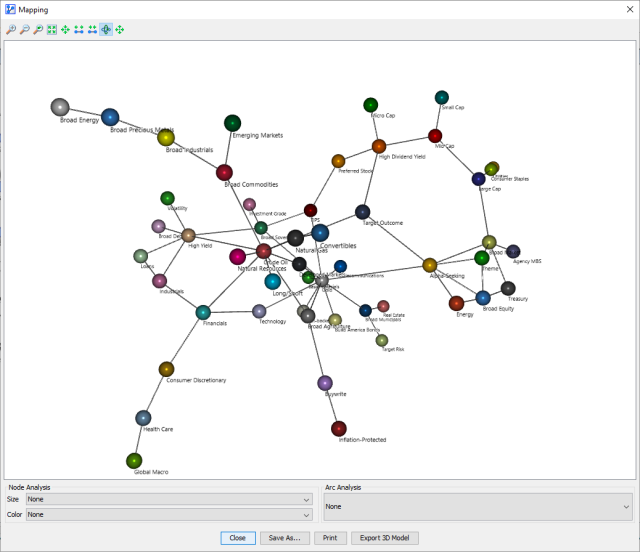
At this point, you can explore this three-dimensional model on a two-dimensional screen, inside the 3D Mapping window. However, our objective is to explore this network in Virtual Reality, using the Oculus Rift.
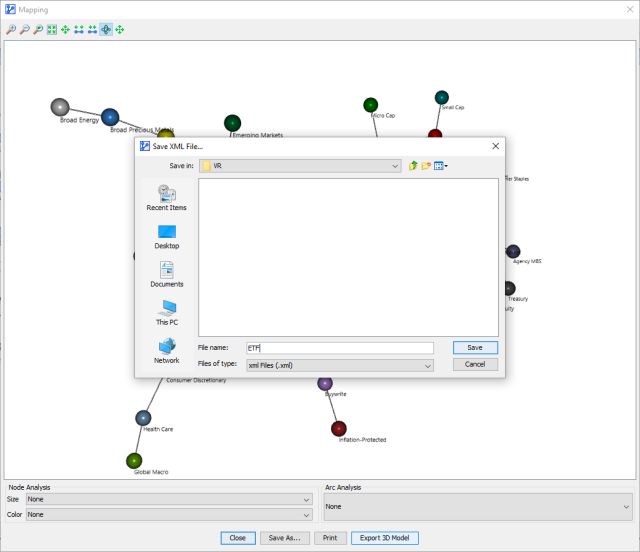
This requires that we save the network in its current state by clicking Export 3D Model, specifying a file name, and clicking Save. This completes the steps in BayesiaLab. Note that you do not need to select any analysis type prior to saving the file. All analysis methods will be available from within the VR environment.
Viewing the 3D Model Using the Oculus Rift
Select ETF.xml and drag it onto the shortcut to start the BayesiaLab VR Module. The network is now visible in the Oculus Rift headset.